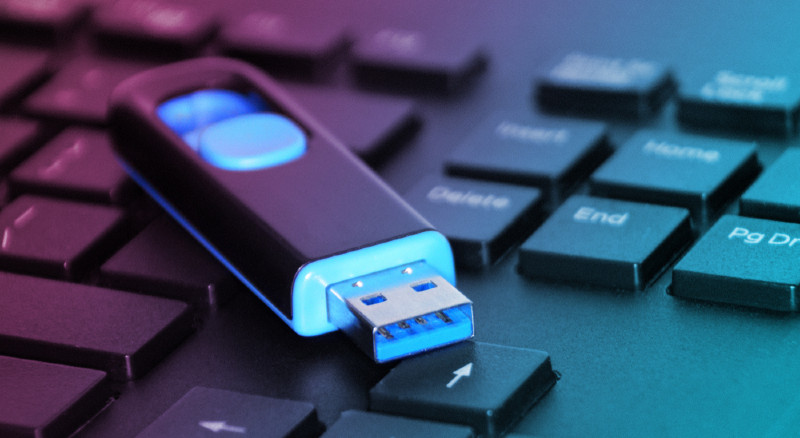
In today’s digital age, having a bootable USB drive can be incredibly useful. Whether you need to install a new operating system, recover data from a crashed computer, or run diagnostic tools, a bootable USB drive can come to your rescue. This article will guide you through the process of creating a bootable USB drive, providing you with the essential steps and tools required to accomplish this task.
Gather Your Materials
Before you start creating your bootable USB drive, make sure you have the necessary materials. You will need a USB flash drive with sufficient storage capacity, a computer or laptop with a USB port, and the operating system or software you want to make bootable on the drive.
Choose the Right Tool
To create a bootable USB drive, you’ll need a reliable tool. There are several applications available online that can help you achieve this, such as Rufus, UNetbootin, or the official Windows Media Creation Tool for Windows OS installation. Select the one that suits your requirements and download it from a reputable source.
Format the USB Drive
Before you proceed with the bootable process, ensure that your USB drive is properly formatted. Plug in the USB drive into your computer’s USB port and back up any important data stored on it, as the formatting process will erase all existing data. Right-click on the USB drive, select “Format,” and choose the appropriate file system (FAT32 or NTFS).
Run the Bootable Tool
Once your USB drive is formatted, open the bootable tool you downloaded in Step 2. Follow the on-screen instructions to select the USB drive as the target and browse for the ISO file of the operating system or software you want to make bootable. Double-check that you’ve chosen the correct USB drive to avoid any data loss.
Start the Bootable Process
With the USB drive selected and the ISO file loaded, click on the “Start” or “Create” button within the bootable tool. The tool will begin transferring the necessary files to the USB drive and make it bootable. This process might take a few minutes, depending on the size of the ISO file and the speed of your USB drive.
Test the Bootable USB Drive
After the bootable process is complete, it’s essential to ensure that the USB drive works correctly. Safely eject the USB drive from your computer and then reinsert it. Restart your computer or laptop and access the boot menu (usually done by pressing F12 or another designated key during startup). Choose the USB drive as the boot option and see if it loads the operating system or software successfully.
Troubleshooting
If the bootable USB drive fails to work, try repeating the process with a different bootable tool or re-download the ISO file. Ensure that your computer’s BIOS settings are configured to allow booting from USB devices. If you encounter any issues during the booting process, consult online forums or the tool’s official support page for troubleshooting tips.
Conclusion
Creating a bootable USB drive can be a valuable skill, providing you with a convenient way to install operating systems or recover data when needed. By following this step-by-step guide, you can now confidently create your bootable USB drive and harness its power in various situations.
FAQs
1. Can I use any USB drive to make it bootable?
Yes, you can use most USB flash drives to create a bootable device. Just ensure it has enough storage space for the ISO file.
2. Can I create a bootable USB drive on a Mac computer?
Yes, you can use compatible bootable tool applications that are available for Mac to create a bootable USB drive.
3. Do I need technical expertise to create a bootable USB drive?
No, this process can be done by anyone with basic computer knowledge by following the steps provided in this guide.
4. Can I use the bootable USB drive on multiple computers?
Yes, as long as the hardware configuration is compatible, you can use the bootable USB drive on different computers.
5. Is it possible to have multiple bootable operating systems on one USB drive?
Yes, you can create a multi-boot USB drive that allows you to choose between different operating systems during startup.


